bjhbrew
Well-Known Member
- Joined
- Oct 15, 2016
- Messages
- 159
- Reaction score
- 85
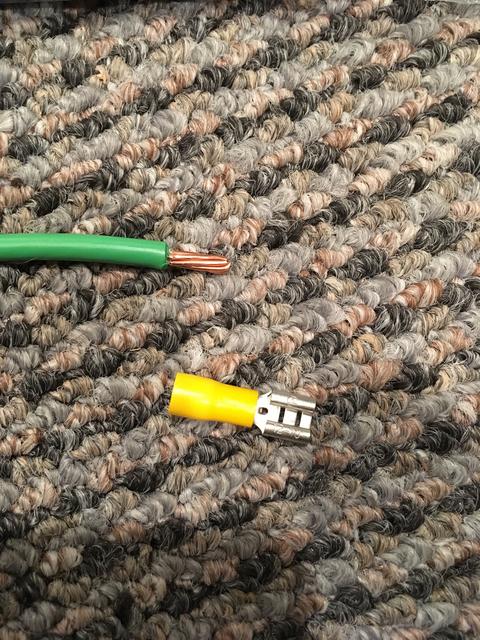
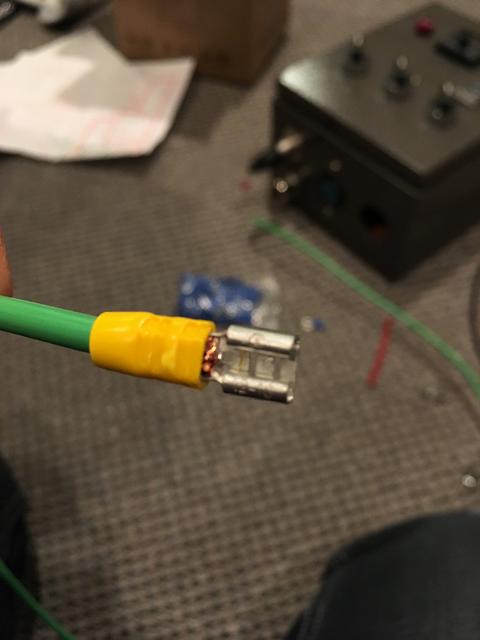
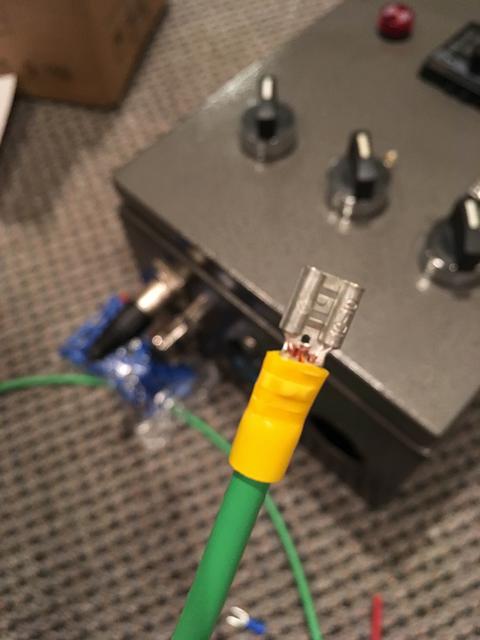
I've been slowly assembling a 220v 30amp control panel for an ebiab setup and getting frustrated with the unreliable crimps I've been getting. I do have plenty of experience with house wiring projects and smaller electronics work (tube amps) so I feel confident working on this project but this is my first time using crimps. As such I bought a ratcheting crimper on amazon (url below) along with a bunch of insulated crimps thinking that it would perform better than a multi tool type crimper. So far I haven't had the best of luck though; I tug on the wire to test the quality of the crimp and most of them pull apart with only moderate force. The only way I've had success is by twisting the stranded wire before crimping but I've read that your not supposed to do that. So... has anyone else had this problem? Is it because of the relatively low cost of the tool I bought (Junk?) I'm using the correct connector size as far as I know (10g stranded wire in a yellow connector and 16g stranded in a blue connector) I've had all the parts for my panel for almost a year now and it's killing me that I can't get it together and brew with it; please help!!
https://www.amazon.ca/dp/B0069TRKJ0/?tag=skimlinks_replacement-20
https://www.amazon.ca/dp/B0069TRKJ0/?tag=skimlinks_replacement-20