BIAB - Controller ReBuild 240/25A

Homebrew Talk - Beer, Wine, Mead, & Cider Brewing Discussion Forum

Help Support Homebrew Talk - Beer, Wine, Mead, & Cider Brewing Discussion Forum:

This site may earn a commission from merchant affiliate links, including eBay, Amazon, and others.

BeardedBrews

Well-Known Member
Joined
May 11, 2015
Messages
1,265
Reaction score
563
Location
Tacoma
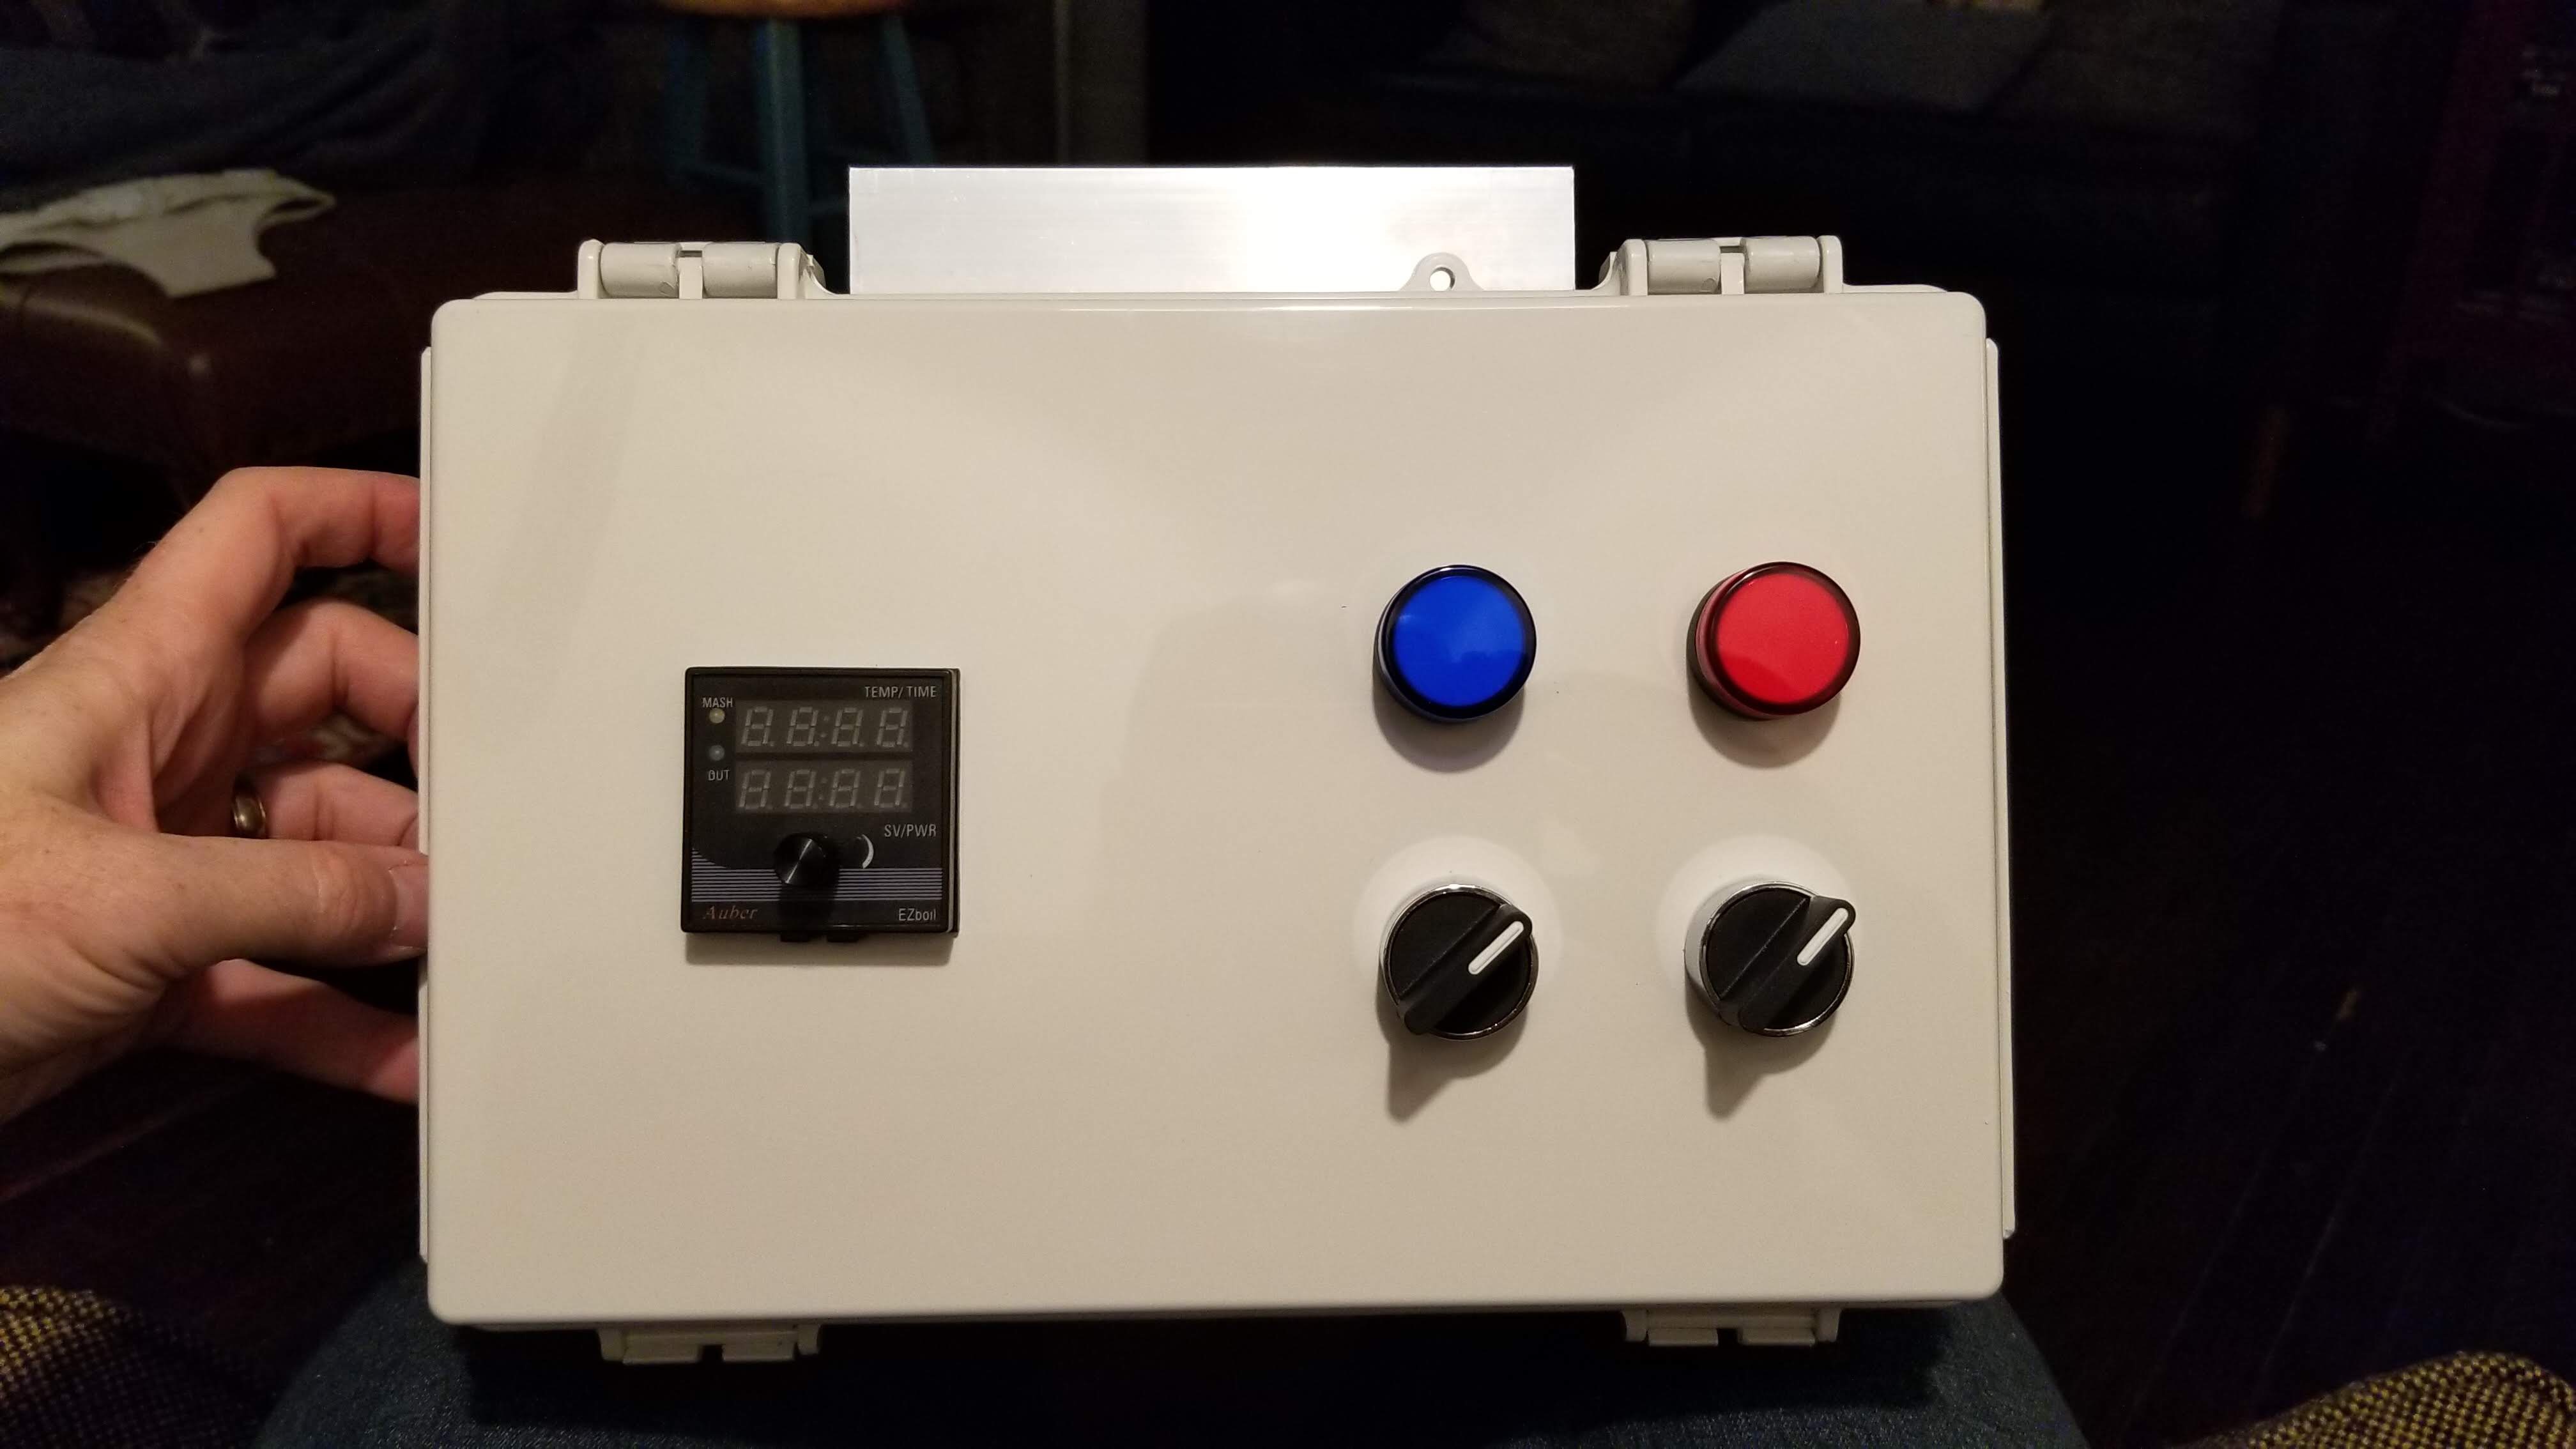
After delaying a bit to make sure I knew what I wanted medium-long term from my controller I have settled on a feature set pretty similar to the commercial units but opted for some budget components to reduce cost where appropriate while maintaining aesthetics and safety.
2DA0579C-F729-4D86-927B-D0D96710F268.jpeg


https://photos.app.goo.gl/C7XSvRyDQks8ZZvN7

AA431FC7-DCC0-4388-A8B4-93EE4879C97A.jpeg
223FD2E1-4B33-4750-910B-E497A301C88C.jpeg464C2D34-0B53-496F-A3E3-387FE940D999.jpeg1C256E47-BE4B-4B68-ABEF-BD84CCC2058F.jpeg26ED5419-7D23-47FD-9C50-A9F68D4BA3F1.jpeg3210F9CC-3FE9-4B40-BDF9-AA98CB3A76AF.jpeg

Some highlights:

I went with a Bud Industries 12x8x5 box NBF-32016 and am very happy with the size for this application. It cuts easily and still feels very durable and secure. I opted to buy the metal backplate which also simplified installation.

I used a generic Uxcell aluminum heat sink that fit incredibly well on the box. It was a simple task to drill pilot holes and use self tapping screws to secure the ssr. Uxcell a14111400ux0256

I put too many terminal strips in. There is no real penalty for this, just didn’t use all the posts.

I like the rotary switches and lights. The parts are slightly more expensive vs a basic light switch, but the industrial feel is immensely satisfying.

Auber EZ Boil is amazing. Couldn’t be happier with the ease of use and reliability and I would recommend to anyone.

I did not use a disconnect in the controller for the power input or the element cord. The box is mounted to the wall and I can think of no reason to remove these cables. This saves space in the box and considerable cost.

I will be updating the RTD to a kettle mount option using a very high quality option from eBay. Thanks for the tip Auggie. https://rover.ebay.com/rover/0/0/0?mpre=https://www.ebay.com/ulk/itm/232587883318

I initially used a Fotek 40amp SSR and had odd sticking issues. Replaced with a proper Crydom which works great. I broke open the Fotek and discovered they were using a 12amp triac in the 40amp ssr which explained the performance problems.

I’m pleased with the results and satisfied with the upgrade cost vs my old ammo can.
 
So one switch controls the contactor which controls power to the element, and the other controls a pump?

Brew on :mug:
 
So one switch controls the contactor which controls power to the element, and the other controls a pump?

Brew on :mug:

Correct, pump is switched directly from the panel switch with the blue light in line after the switch. Element power switch drives the contactor and the red light is on the contactor output just in case it sticks.

Auber controller is always on when the box is plugged in.

The one change I still might make is the addition of Kal’s safe start relay in front of the contactor. It won’t change the interface but will keep me from forgetting to switch it off before plugging in. The box stays plugged in at the moment, so it’s not critical in my workflow, but it would be a neat addition.
If you have an NC block on the element and pump switches, you can do the safe start without adding a relay. Let me know if you want a schematic for it.

Brew on :mug:
 
After delaying a bit to make sure I knew what I wanted medium-long term from my controller I have settled on a feature set pretty similar to the commercial units but opted for some budget components to reduce cost where appropriate while maintaining aesthetics and safety.

View attachment 592836

https://photos.app.goo.gl/C7XSvRyDQks8ZZvN7

View attachment 592842
View attachment 592841View attachment 592840View attachment 592839View attachment 592838View attachment 592837

Some highlights:

I went with a Bud Industries 12x8x5 box NBF-32016 and am very happy with the size for this application. It cuts easily and still feels very durable and secure. I opted to buy the metal backplate which also simplified installation.

I used a generic Uxcell aluminum heat sink that fit incredibly well on the box. It was a simple task to drill pilot holes and use self tapping screws to secure the ssr. Uxcell a14111400ux0256

I put too many terminal strips in. There is no real penalty for this, just didn’t use all the posts.

I like the rotary switches and lights. The parts are slightly more expensive vs a basic light switch, but the industrial feel is immensely satisfying.

Auber EZ Boil is amazing. Couldn’t be happier with the ease of use and reliability and I would recommend to anyone.

I did not use a disconnect in the controller for the power input or the element cord. The box is mounted to the wall and I can think of no reason to remove these cables. This saves space in the box and considerable cost.

I will be updating the RTD to a kettle mount option using a very high quality option from eBay. Thanks for the tip Auggie. https://rover.ebay.com/rover/0/0/0?mpre=https://www.ebay.com/ulk/itm/232587883318

I initially used a Fotek 40amp SSR and had odd sticking issues. Replaced with a proper Crydom which works great. I broke open the Fotek and discovered they were using a 12amp triac in the 40amp ssr which explained the performance problems.

I’m pleased with the results and satisfied with the upgrade cost vs my old ammo can.
the rtd you linked is metric so rememebr to buy a stainless m14 metric nut and washer unless you are buying the standard 1/2" version of it like I did..
 
If you have an NC block on the element and pump switches, you can do the safe start without adding a relay. Let me know if you want a schematic for it.

Brew on :mug:

Interesting idea, I'd love to see it drawn out, I'm not sure I can picture it.
 
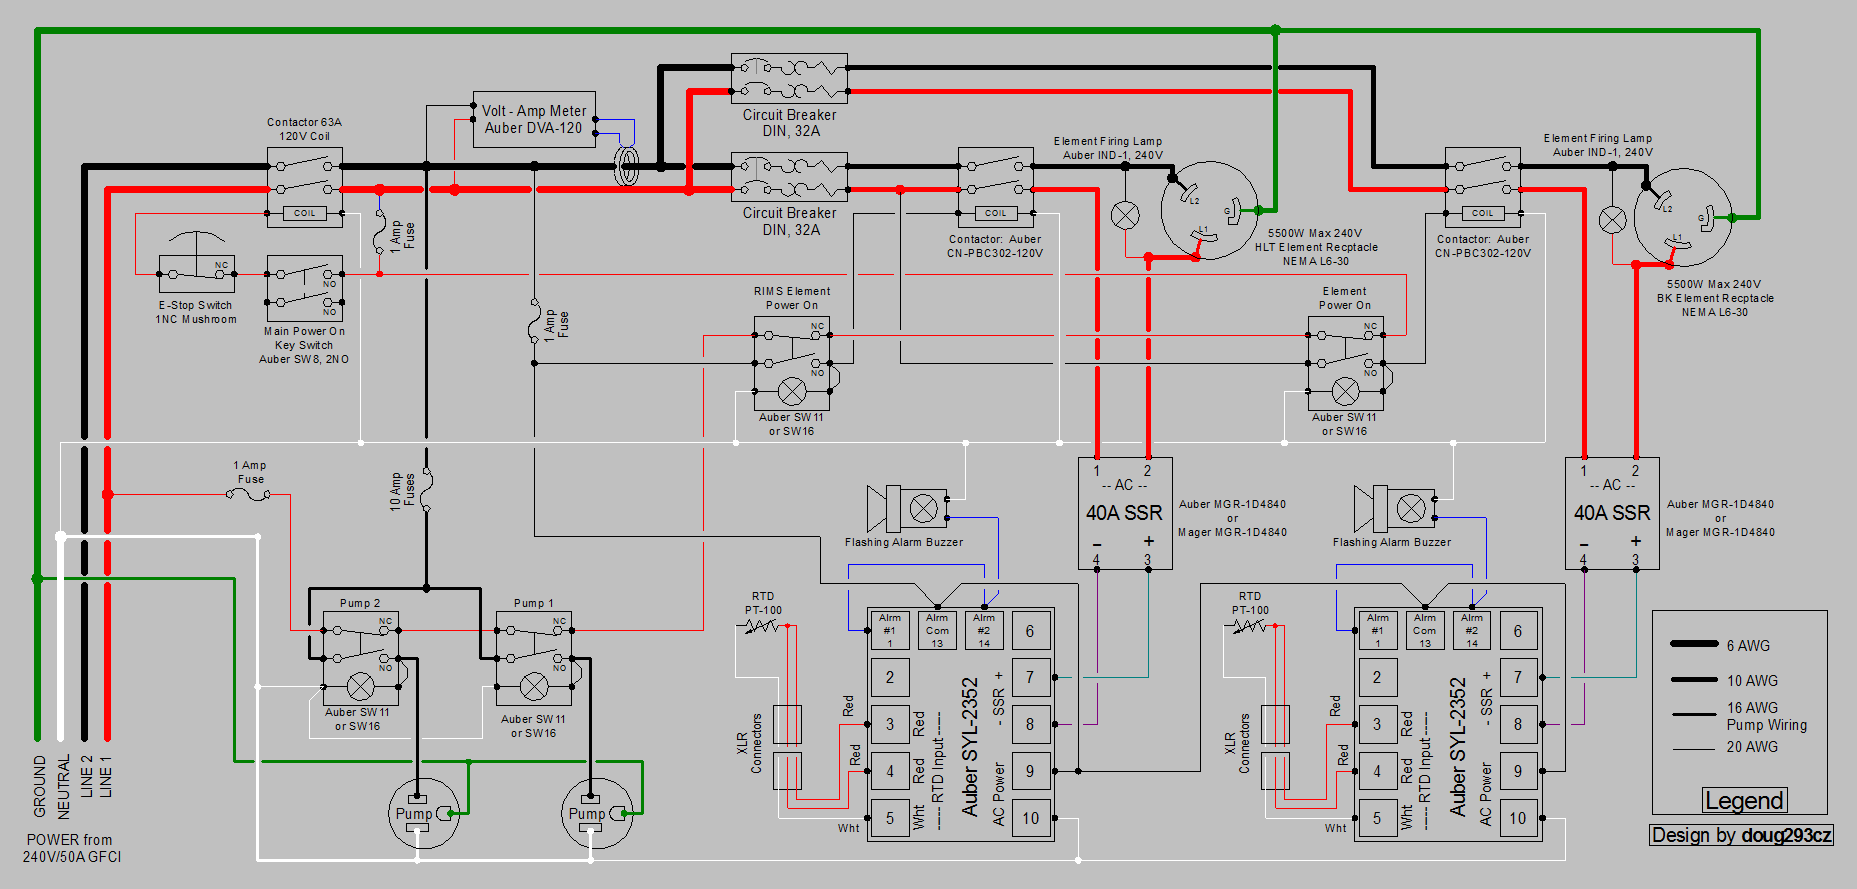
Here's a design that uses the contactor as the "safe start" latching relay. It may be enough for you to figure out how to adapt for your panel. If not, let me know.

KKBrew.PNG


Also, I would recommend putting the indicator light in parallel with the element, downstream of the SSR. This allows the light to indicate an SSR failed in the "on" mode (most common), and an SSR failure is more likely than the mechanical contactor getting stuck on. There is also nothing wrong with putting in two indicator lamps if you really want to.

Brew on :mug:
 
It may be enough for you to figure out how to adapt for your panel.

Also, I would recommend putting the indicator light in parallel with the element, downstream of the SSR.

Ah, now I see what you're suggesting on the relay latch. In your diagram what keeps the main contactor energized when you switch the RIMS or Element on? The advantaged seemed to be in favor of the ice cube relay which could be configured to self-energize after the initial power on, and would spring back open if the box lost power.

In either case my rotary switches don't have NC blocks on them (yet), and I don't have a secondary contactor, so hardware would be required. At the moment I'll run as configured.

Regarding the light, I agree. I found a second Red LED in my tool box so I may pick a spot and mount a secondary indicator light for "element firing" so I can spot a failed SSR more easily. Aesthetically I could add a third rotary switch and light combo, and use that switch to either control something.
 
What did this cost you to build?
Box and Backplate - $32 (Amazon)
Heat Sink - $13.50 (Amazon)
Terminal Blocks - $8 (Amazon)
Lights and Switches - $7.50 (Amazon)
Contactor - $8.50 (Amazon)
RTD - $21 (Ebay)
Auber DSPR - $40 (HBT Used)
Power In Cable and Plug - $25 (Amazon)
Power Out Cable and Plug - $25 (BrewHardware)
SSR - $? (Work)
Cable Glands and Outlet - $5 (Amazon)
Crimp Fittings - $5
Wire - $0 (Leftovers and around the house)

Under $200, and I've got left over lights, terminal blocks, glands and crimp fittings. I guess a bit less if you factor only for parts used.
 
Back
Top