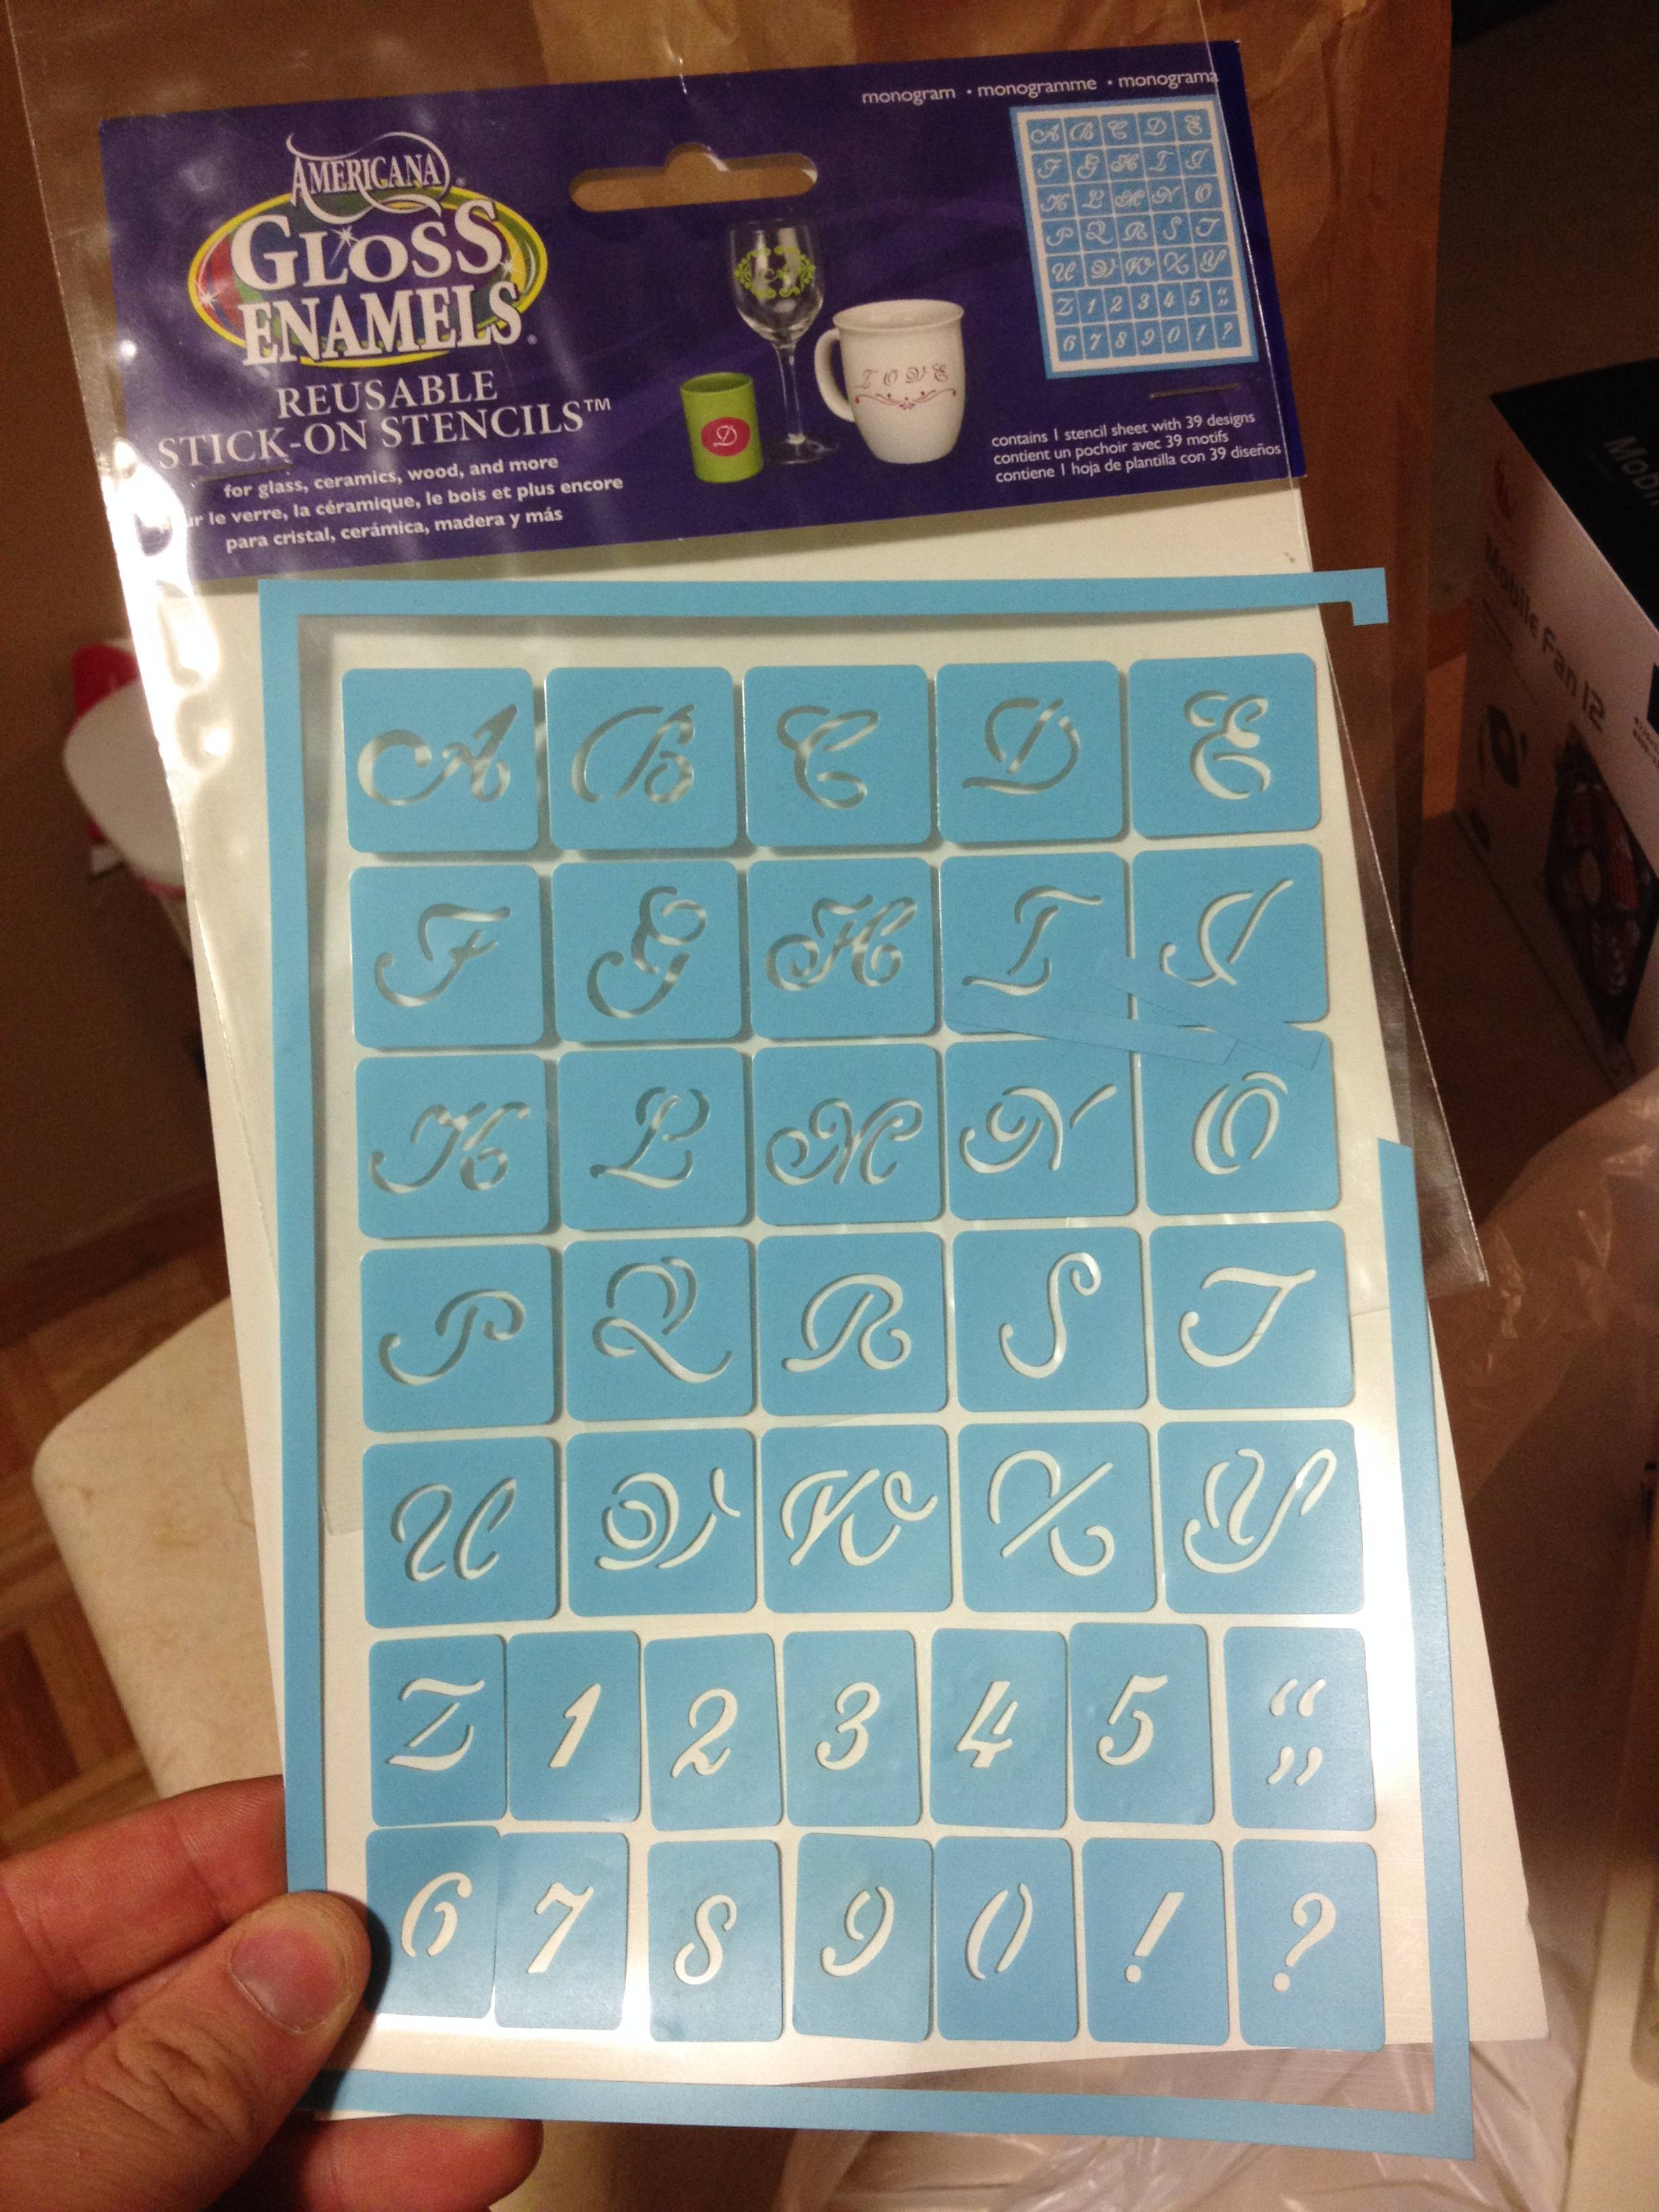
Purchased a Silhouette Cameo vinyl cutter for my daughter a couple Christmases ago... I've been using it more than she has!
Then... I remembered this thread.
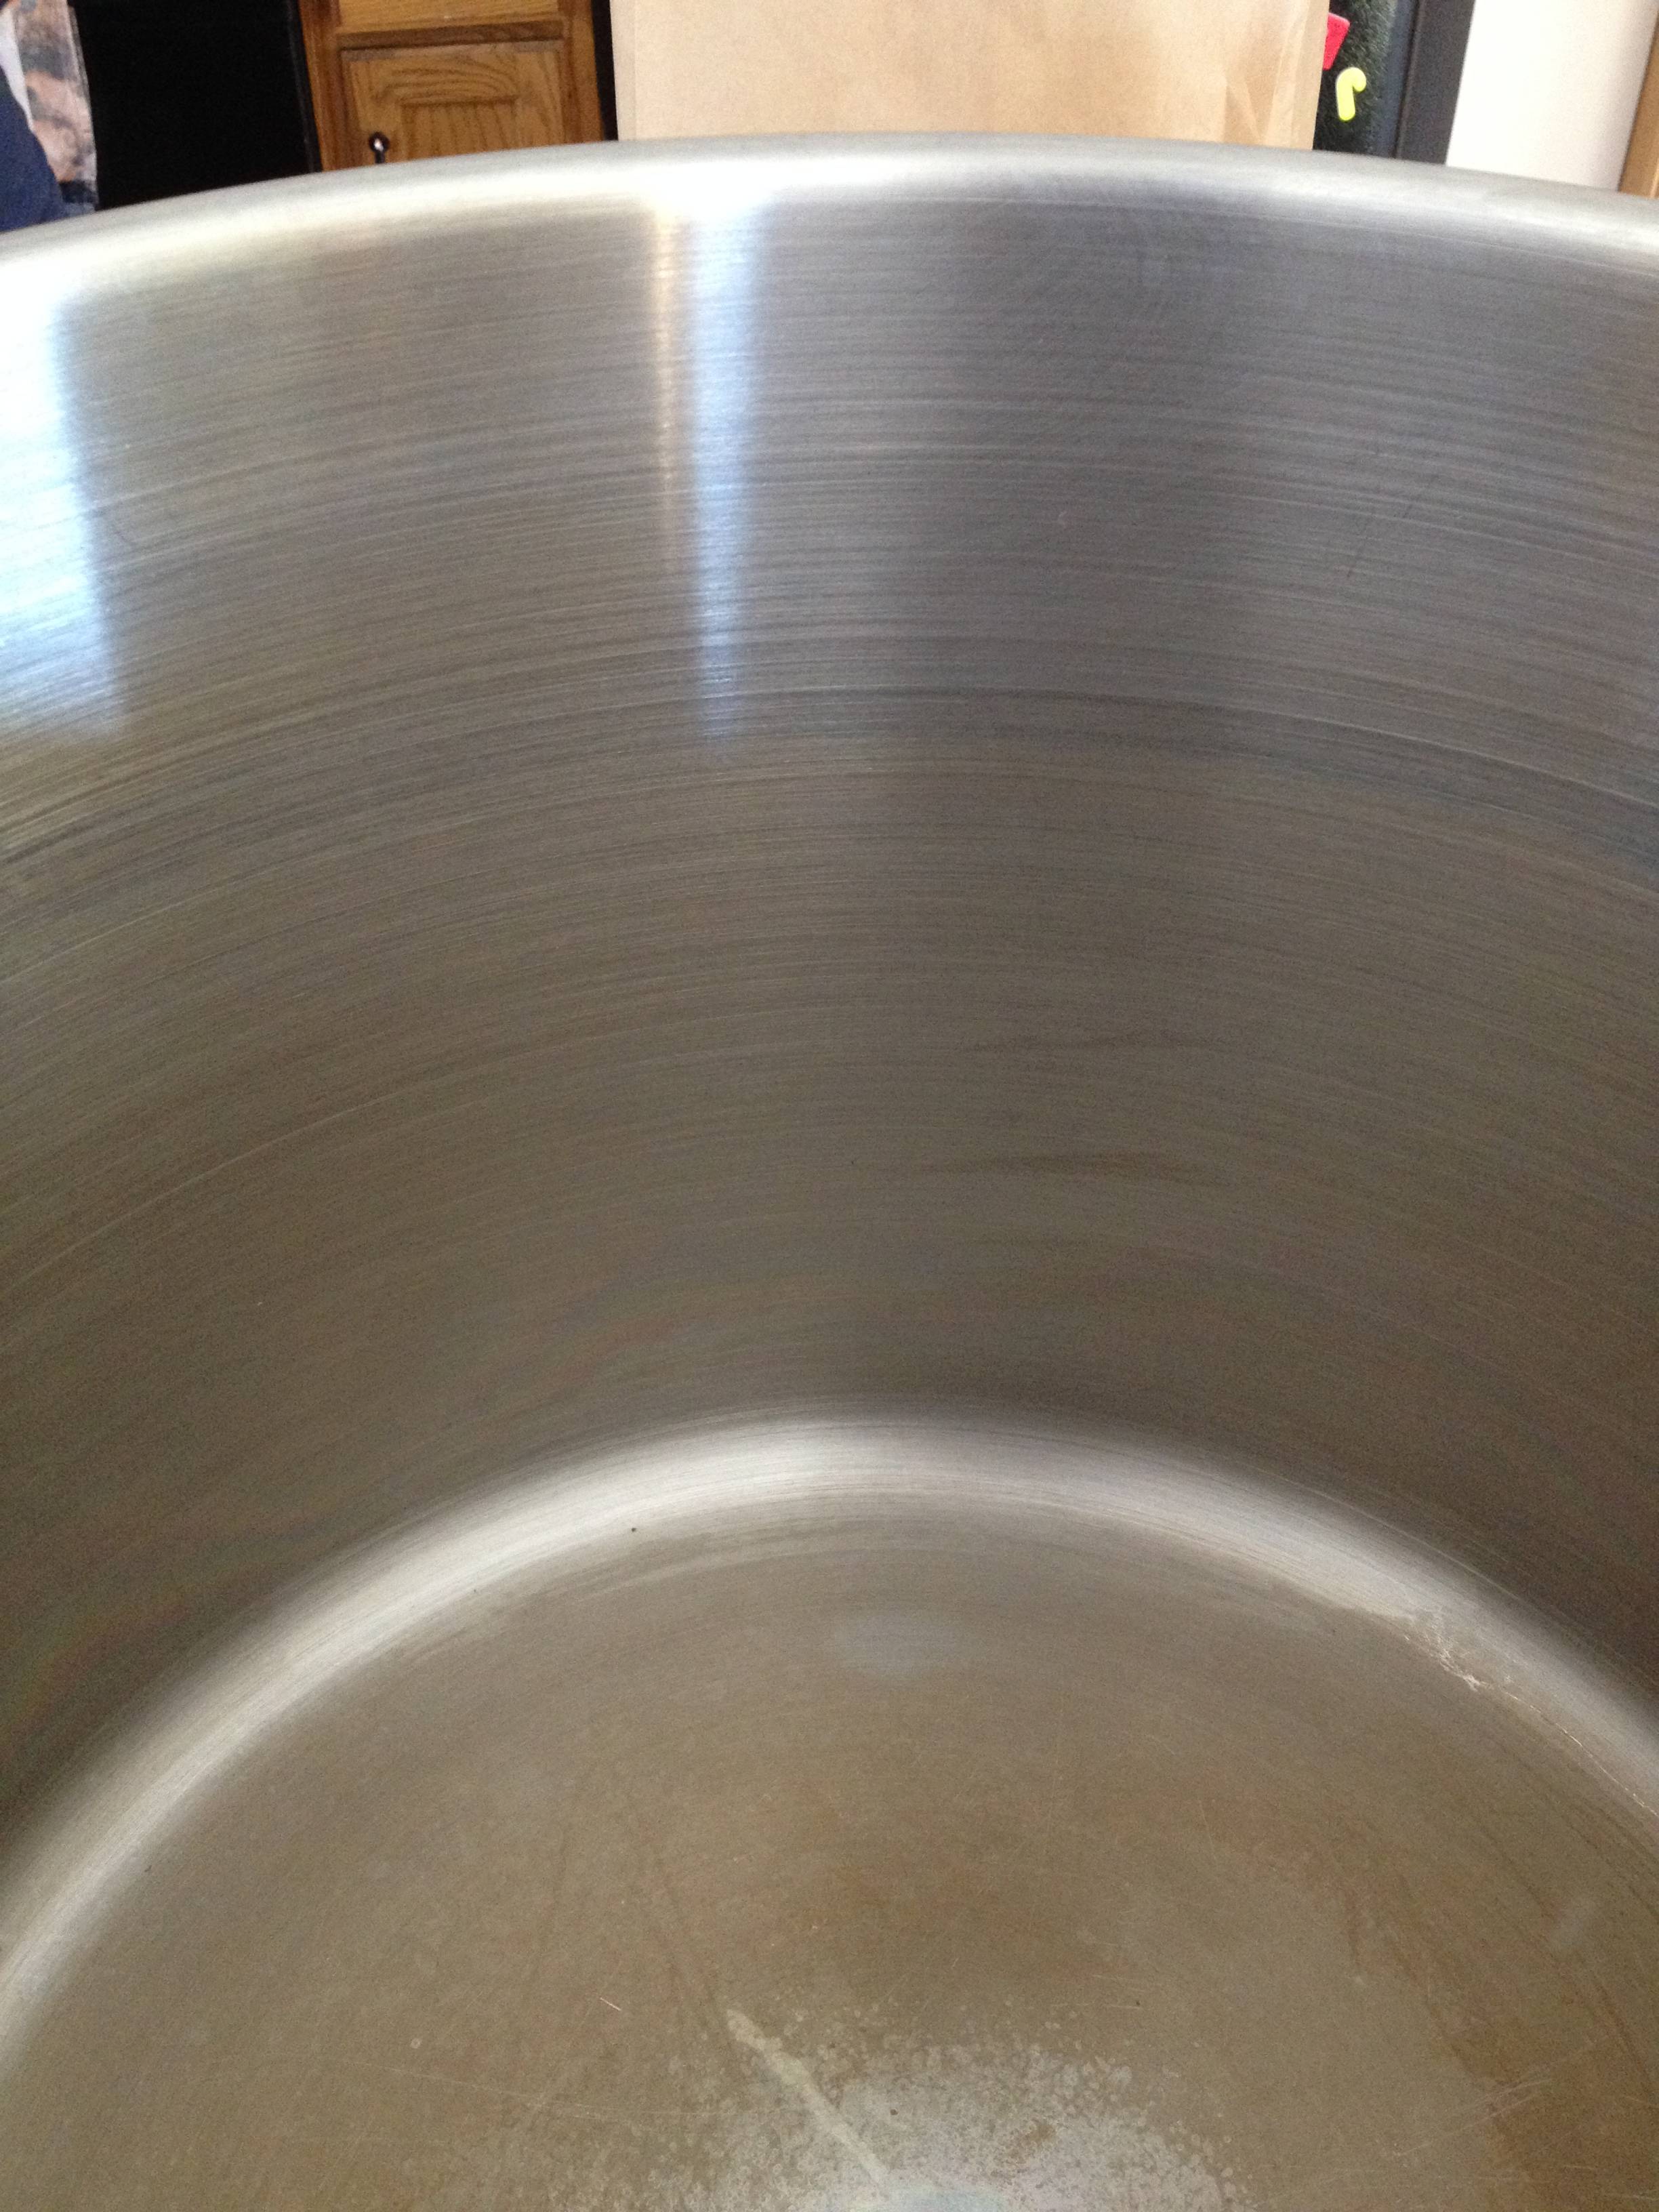
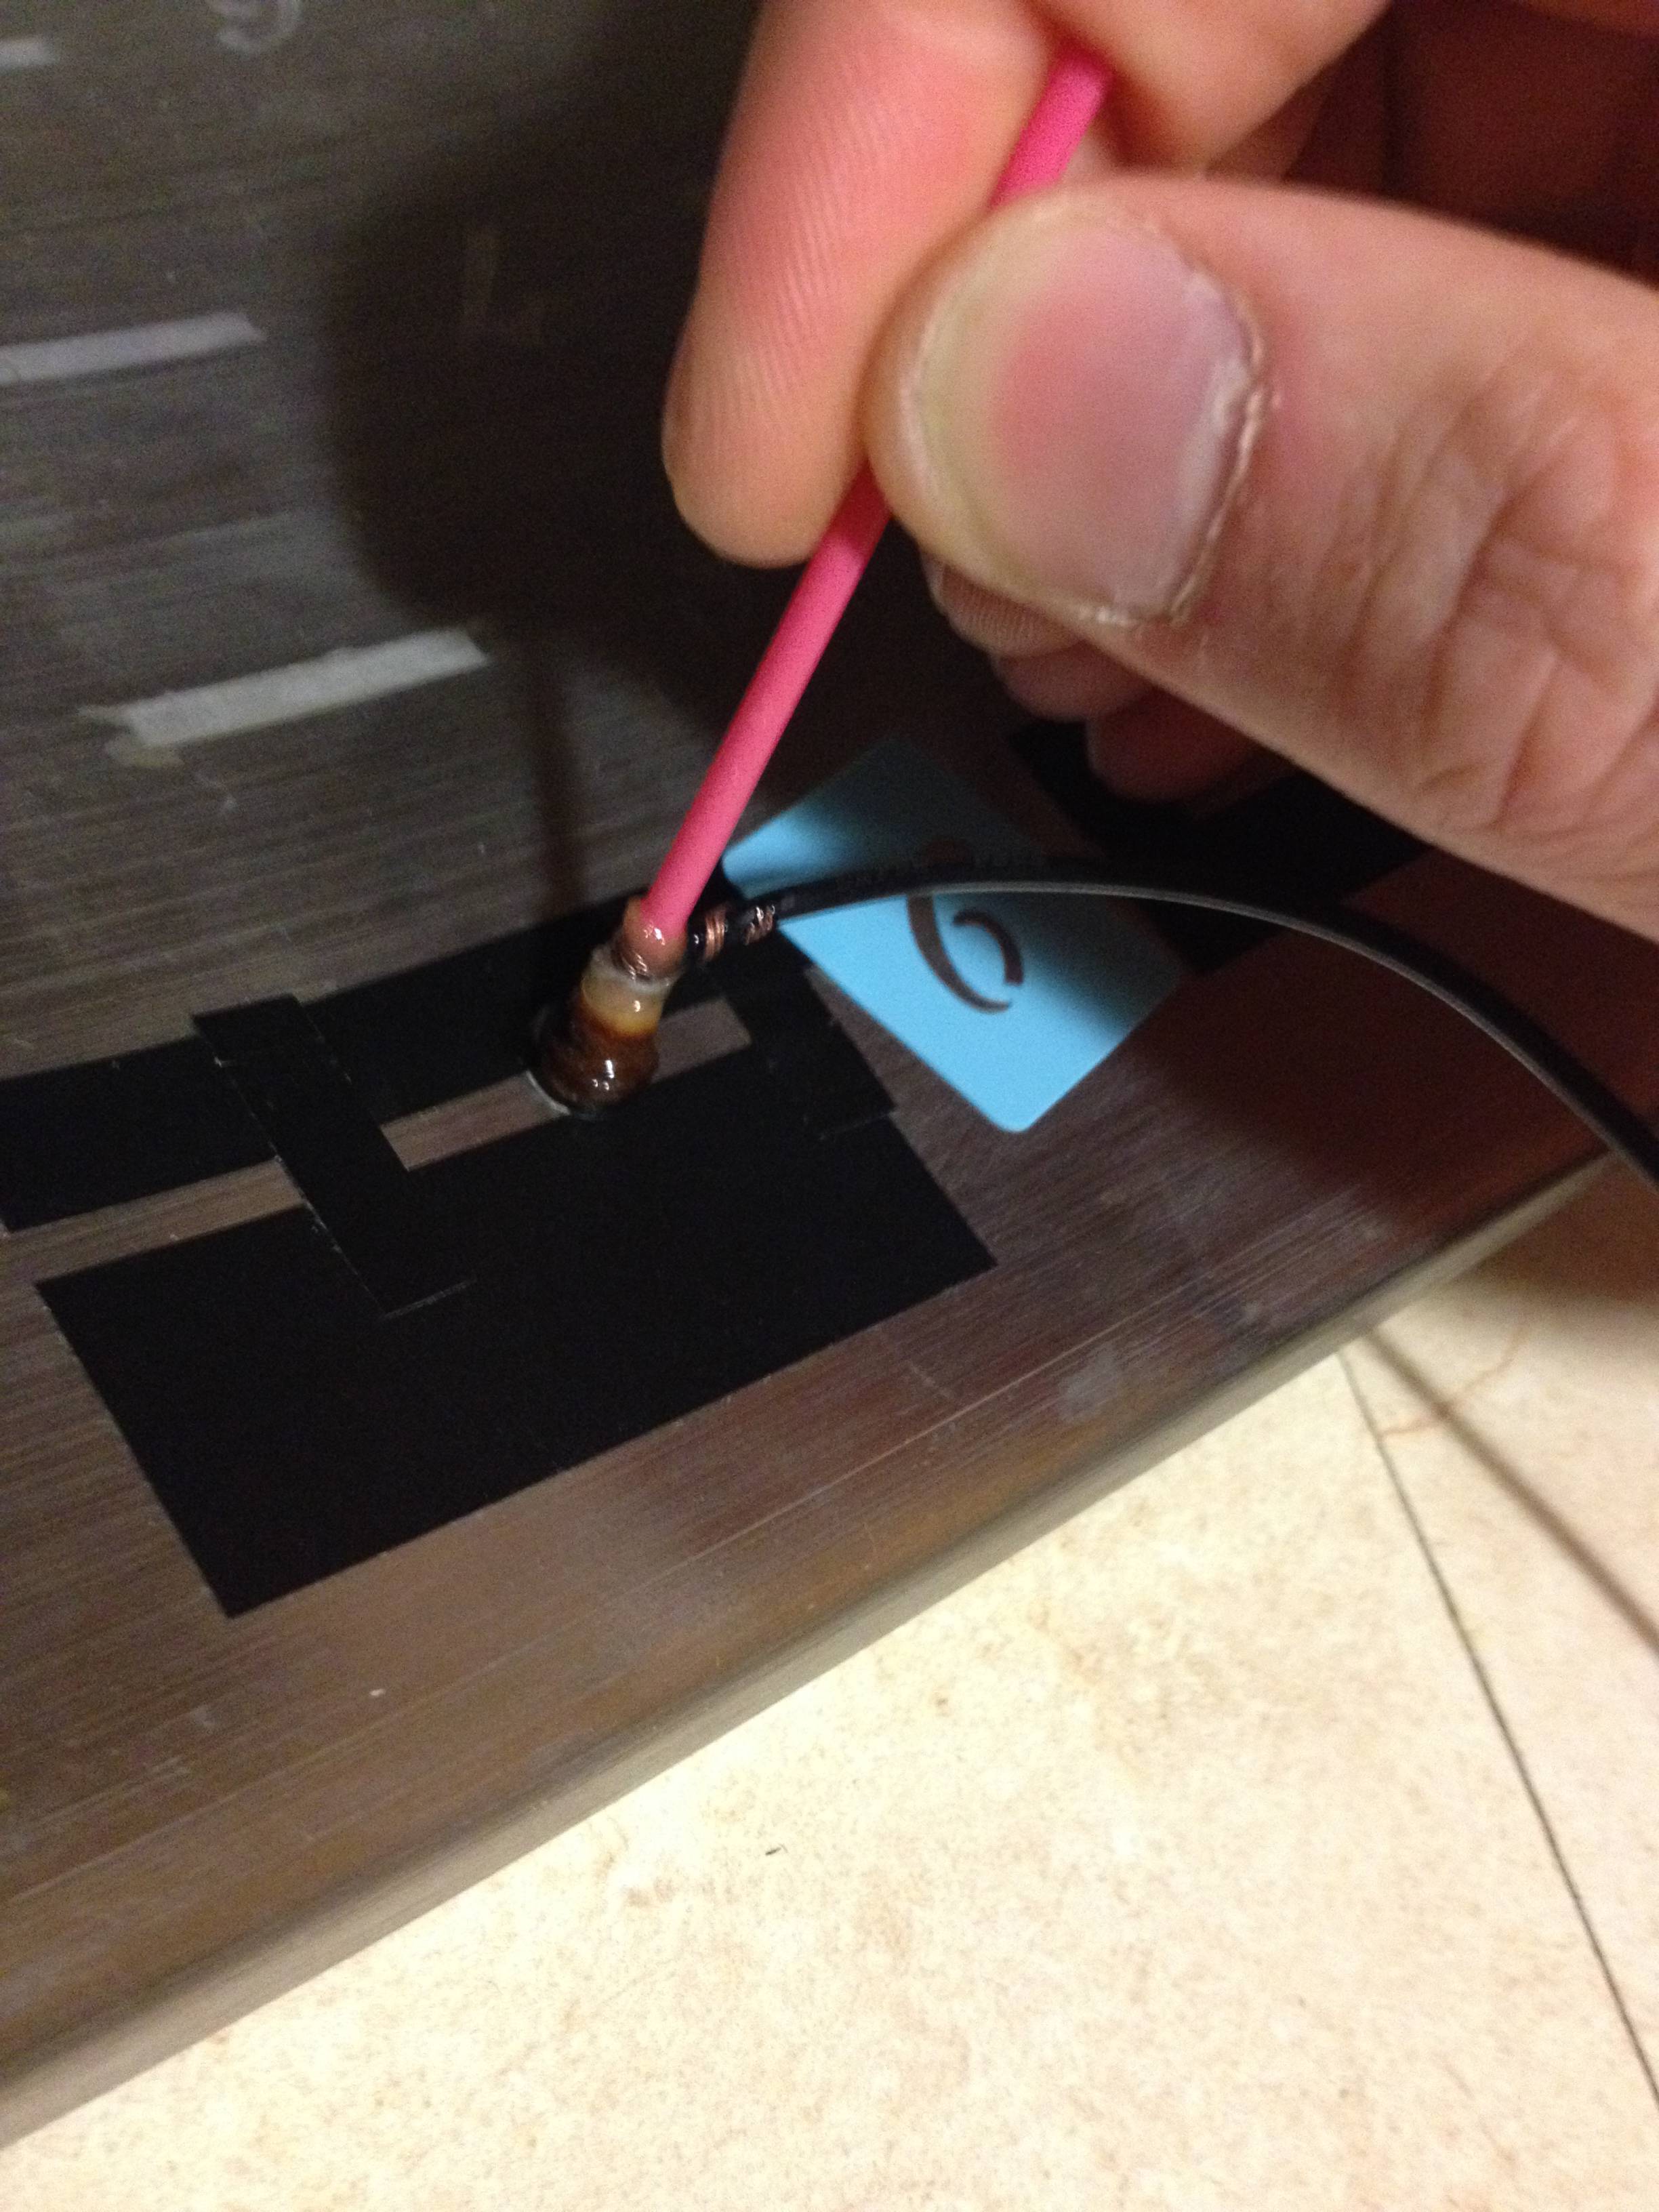
Thought I'd test out etching my pot (inside & out) on the lid first as I care a lot less about it than the pot itself... here's my first etching test with vinyl off the cutter:
I have notations w/numbers about where I goofed up:
1) That was actually the edge of the vinyl and some of the electrolyte dripped out of the 'P' - I didn't realize that there was enough of an electrical circuit to actually etch the edge where the drips were. Barely noticeable, but noted for next time.
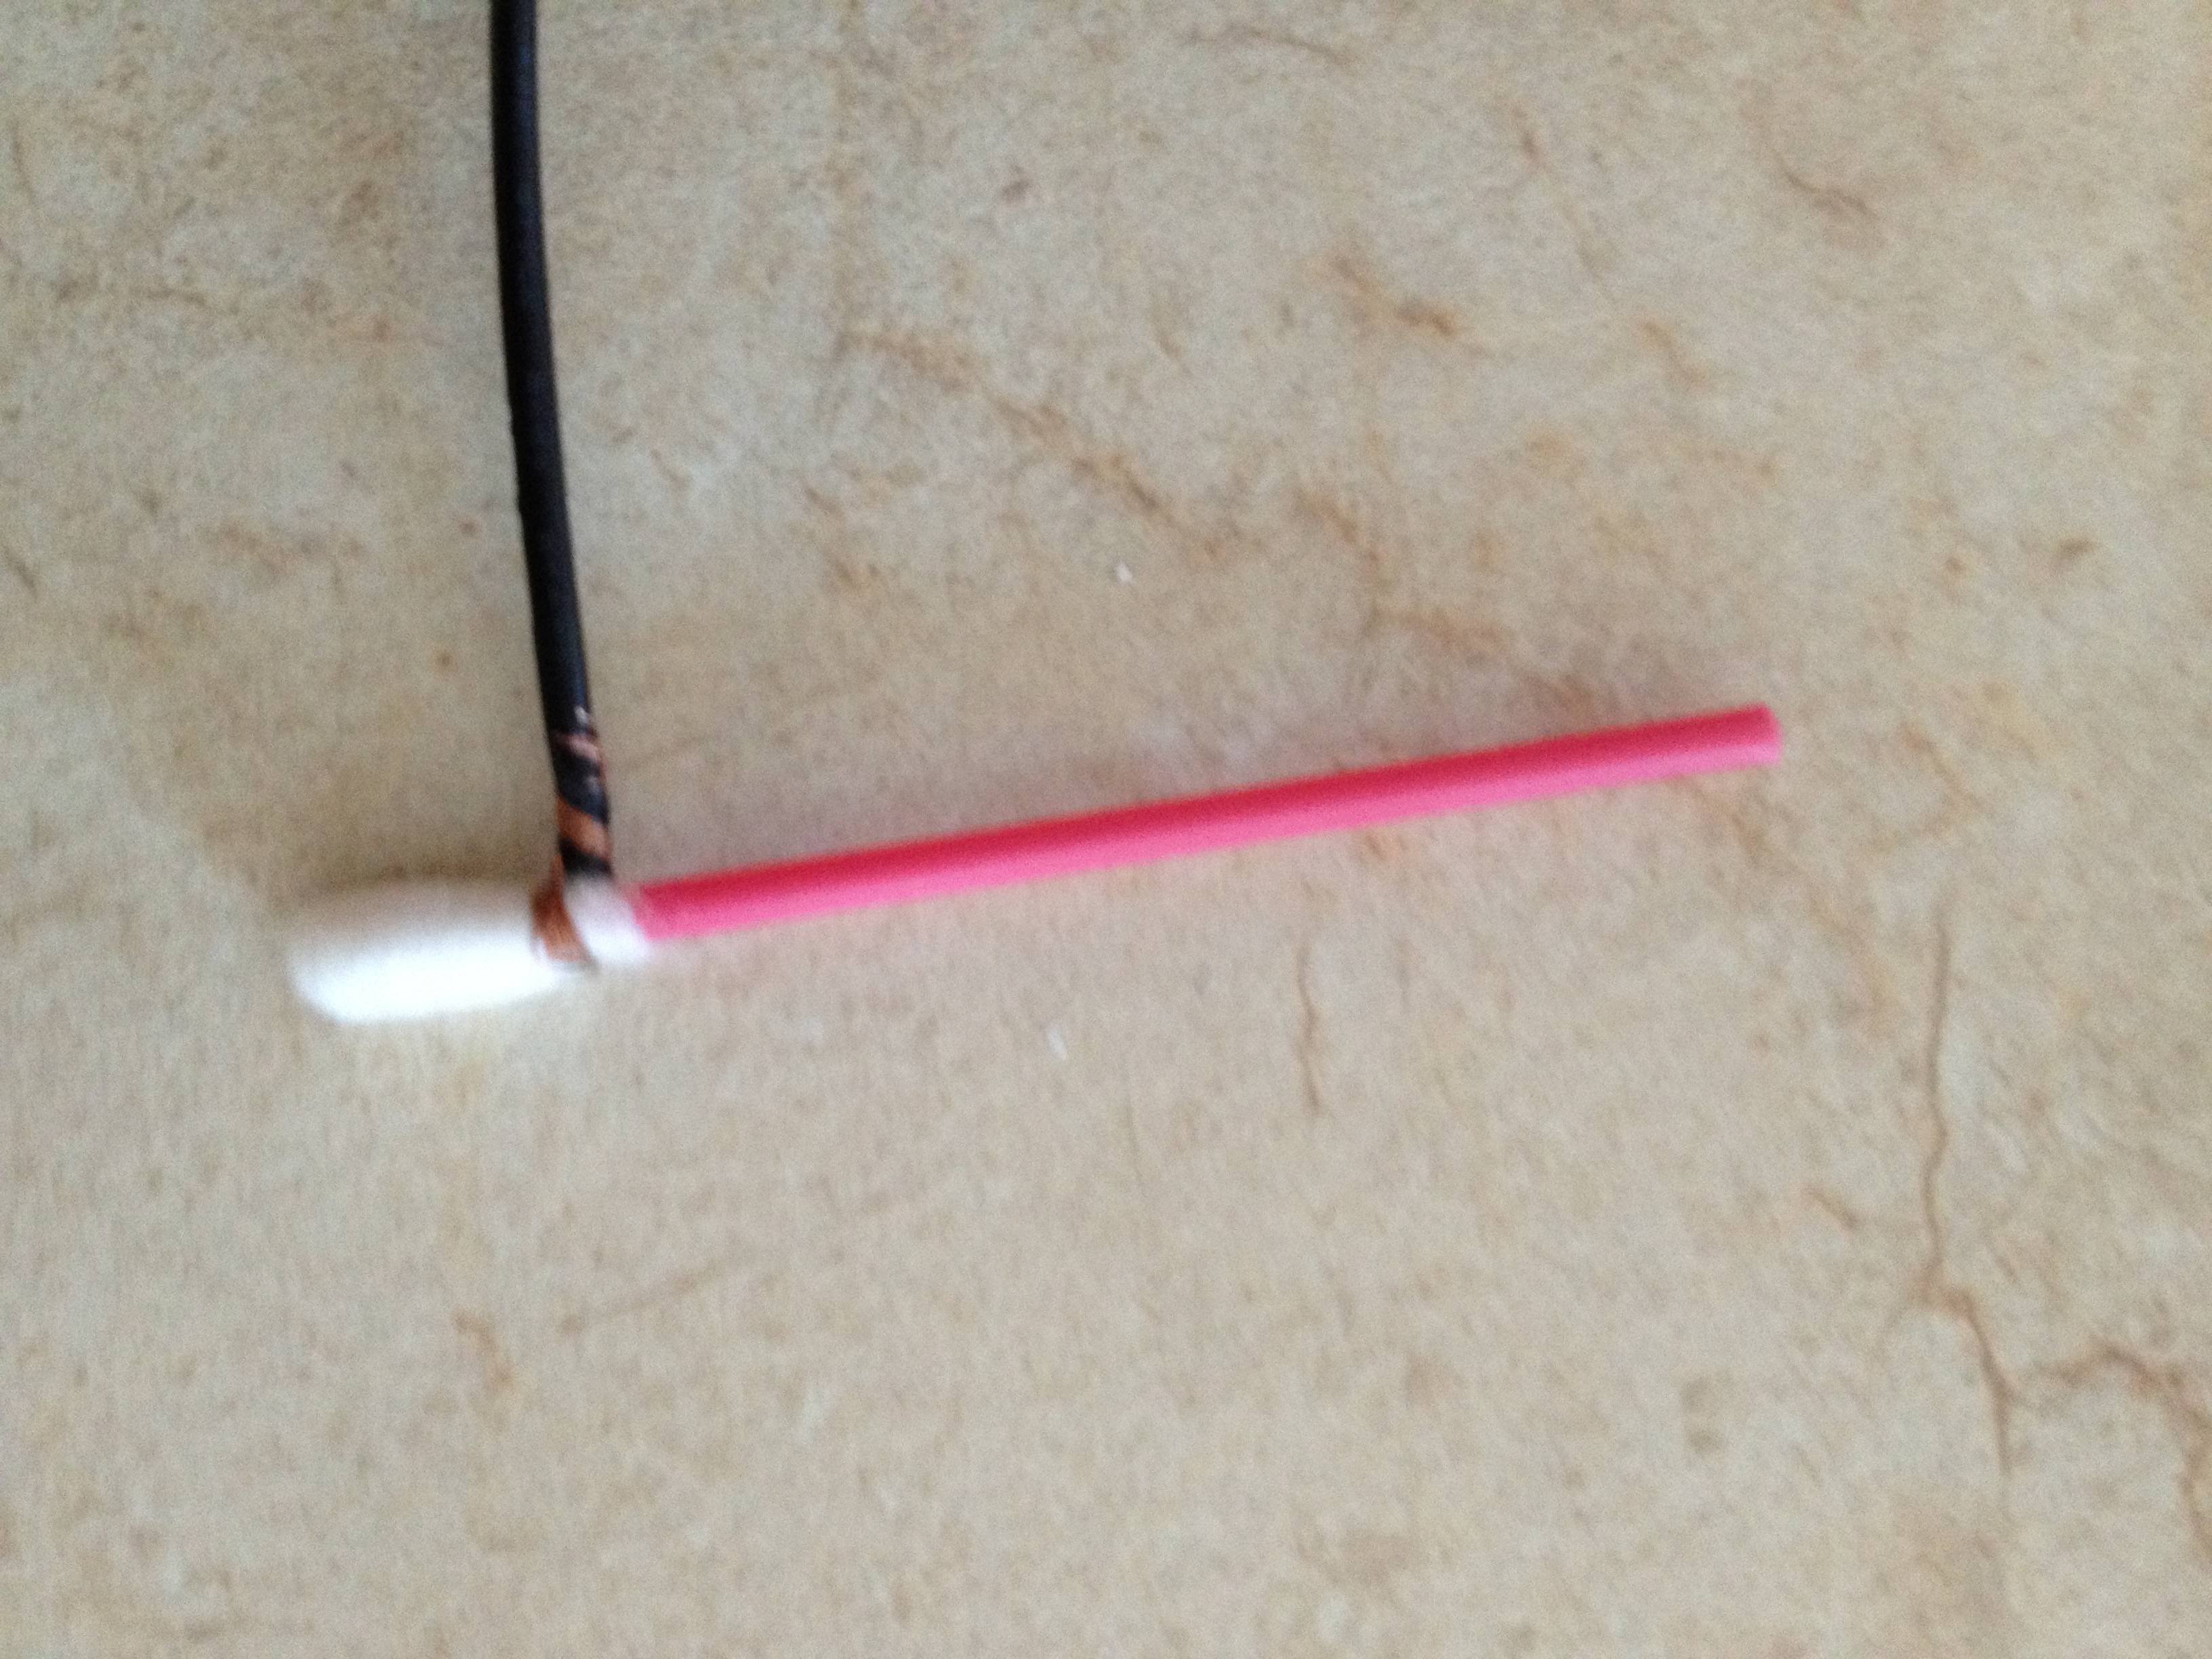
2) Something that I noticed that I didn't see (at least much of) in this thread - there can be a considerable amount of heat generated, especially when the q-tip starts to get dry and when it may be 'overloaded' with stainless that's removed. The vinyl that separated the round part of the 'g' from the 'tail' actually melted & deformed!
3) Those spots it seems I didn't double-check to verify the vinyl was glued well to the pot lid and I lost some resolution.
4) Another spot where I didn't burnish the vinyl well enough and there's a small, slight "bridge" between the last 'g' & 'e' of my name.
The vinyl I have is considered 'permanent' but it seems as if the glue takes a while to completely 'set' -- I put the vinyl down only a few minutes before I started etching and I wonder if it hadn't set fully and made it easier for the electrolyte to penetrate under the vinyl and make a less defined edge. When I etch my brewpot I'll probably apply the vinyl a day before I attempt the etch. It'll make it tougher to remove the vinyl once I'm complete, but it should reduce the chances of the vinyl lifting prematurely and hopefully I'll get better, crisper definition.
Notes:
* This is a very deep etch. I probably over-etched by a fair margin (especially if I melted small portions of the vinyl) so I'll know to not linger on each letter as much.
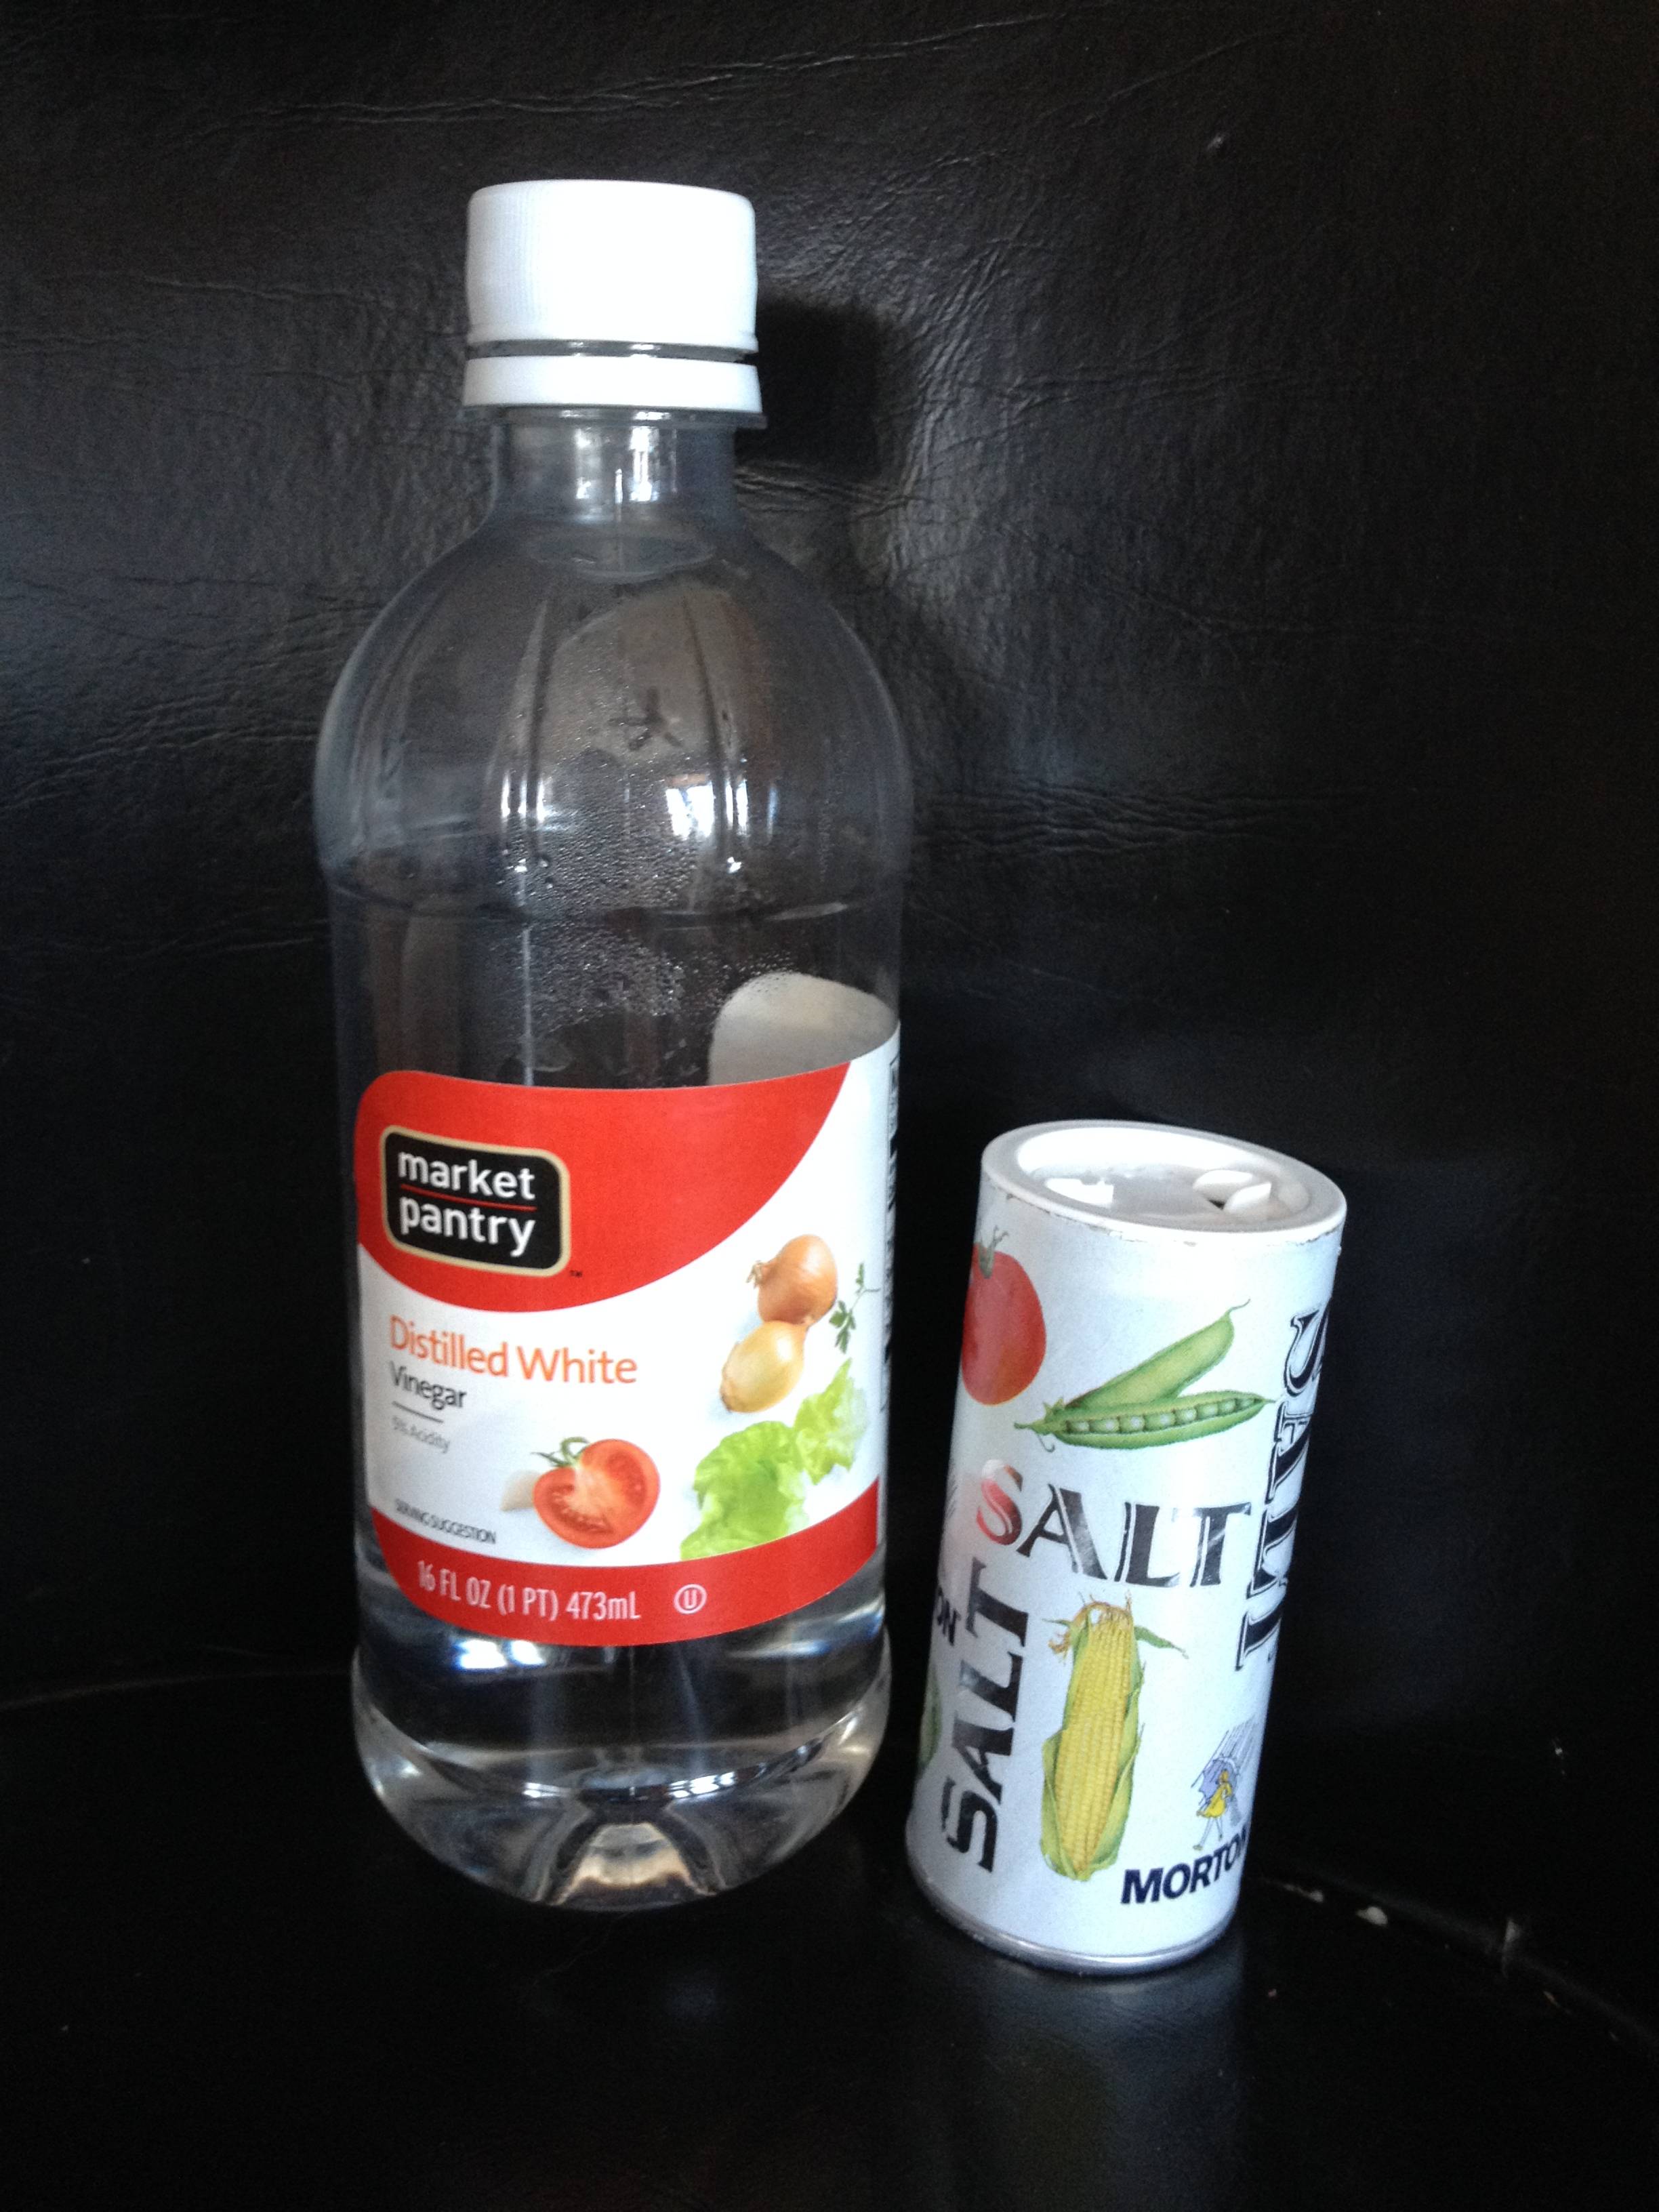
* I don't completely suck at chemistry (I understand basics like bases and acids), but it's not my strongest suit. I used about a 1/4 cup of white distilled vinegar and about 1 tsp. of coarse sea salt (all we have in the house right now) but I ground it up in my spice grinder to extremely fine so it would dissolve better in the cold liquid. Also, it seemed like the etching was quite slow just as the q-tip was fresh and just turning yellow, but the more metal that was etched, the faster the etching would go, as if the previously etched metal was helping create a stronger electrolyte that could carry more current.
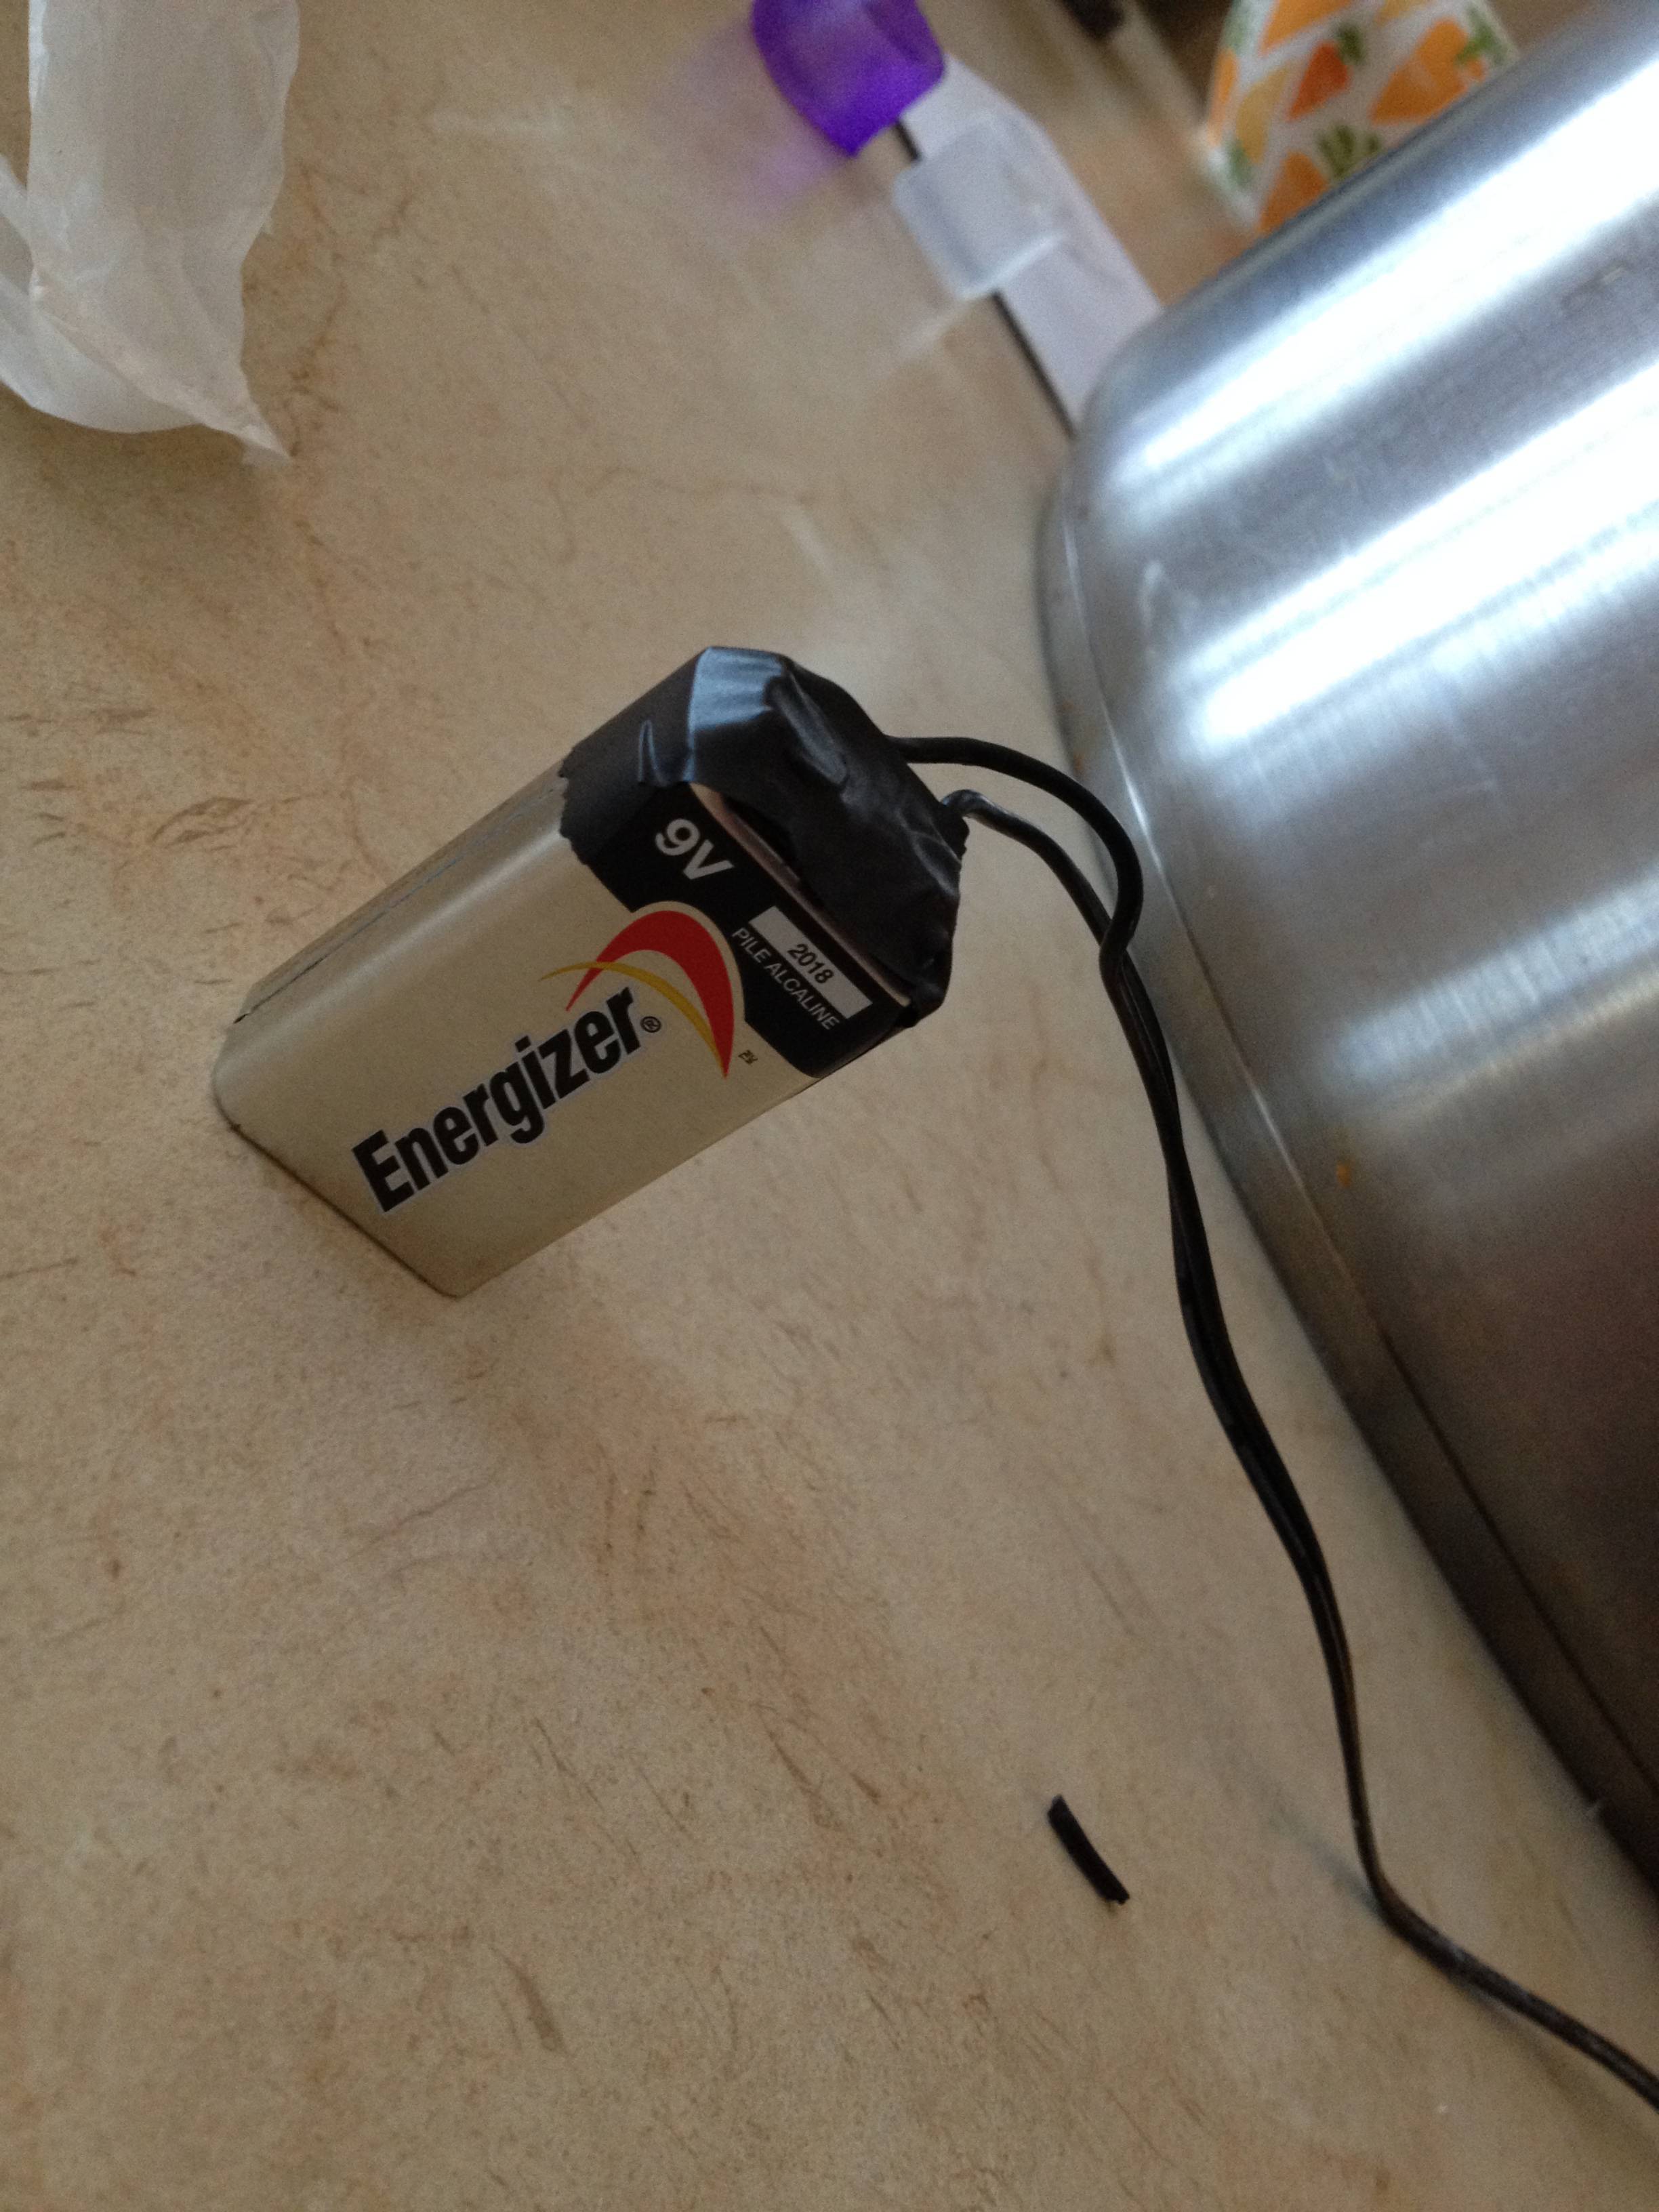
* I understand electricity very, very well. Although I have a gazillion spare power supplies from 5v up to 20v, that's woefully difficult to experiment with or track the process, so I used a variable voltage, current limited IP-20 Heathkit power supply that can supply up to 50 volts at 1.5 amps. I tinkered with different voltages and about 16v seemed to work best for me, but the 'sizzle' didn't seem to happen (or at least much) unless I could keep the current draw above .75 amps and the best etching happened around 1.2 amps. Stopping often, moving to different letters often, and keeping the q-tip wet often seemed to help quite a bit. I'm also wondering if maybe I should try a lower voltage (6-9 volt) power supply, but something that can carry more current if maybe that would etch well also. When I had my power supply at the lower voltage, it seemed that it wouldn't supply enough amperage to etch well. Maybe more tinkering is necessary...
Is it perfect? Nope. A first try at a new project rarely is. Did I learn a lot? Yup! Am I still pleased with the results? Oh, heck yea!
Hope this helps!